PRODUCTS CENTER

MAIN PRODUCTS


We always takes customer satisfaction as its service goal and provides customers with integrated services.

CONTACT US

ABOUT US

Shandong Wanguo Metal Products Co., Ltd.

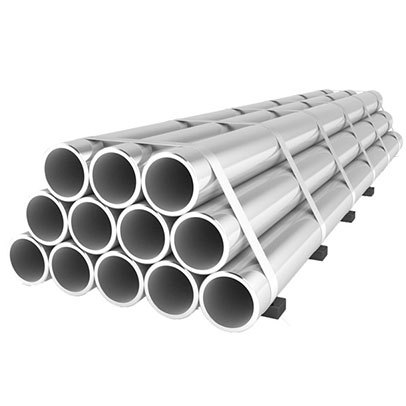
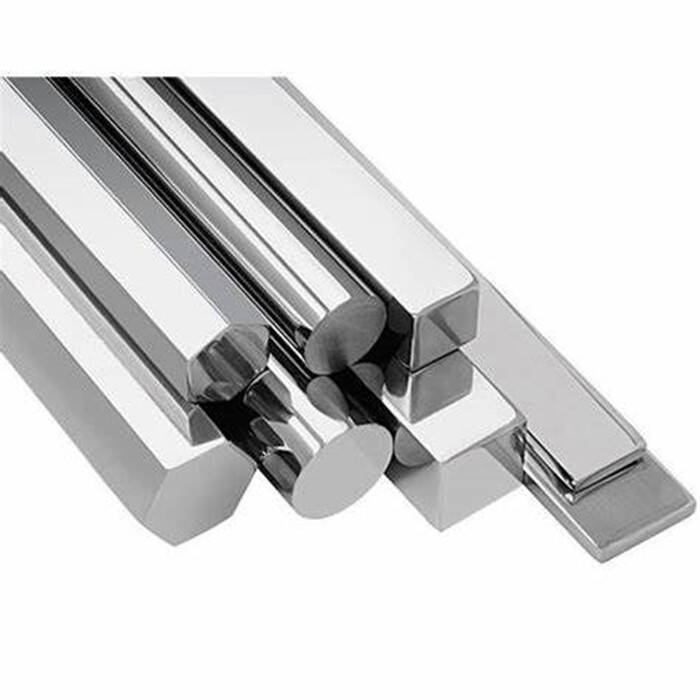
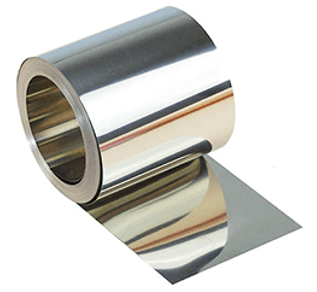
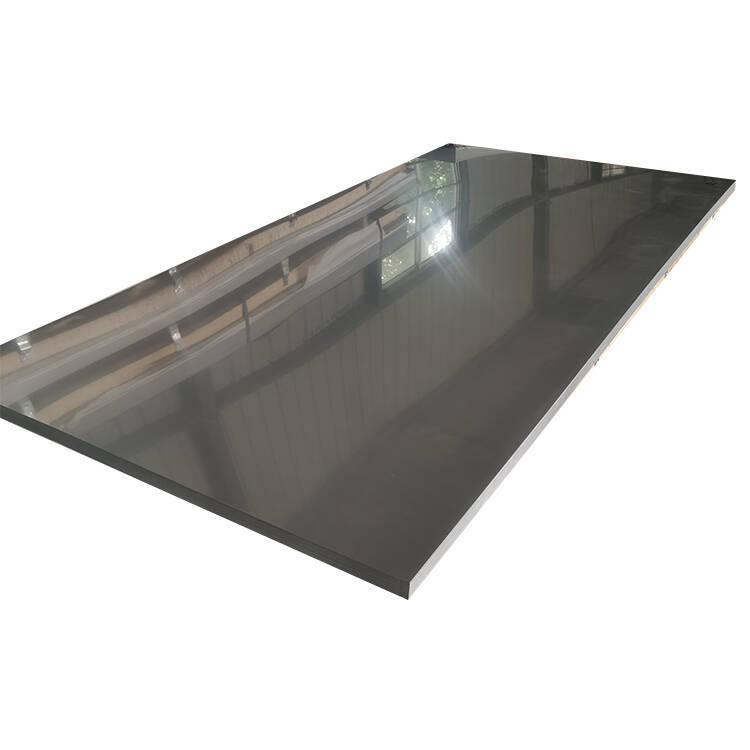
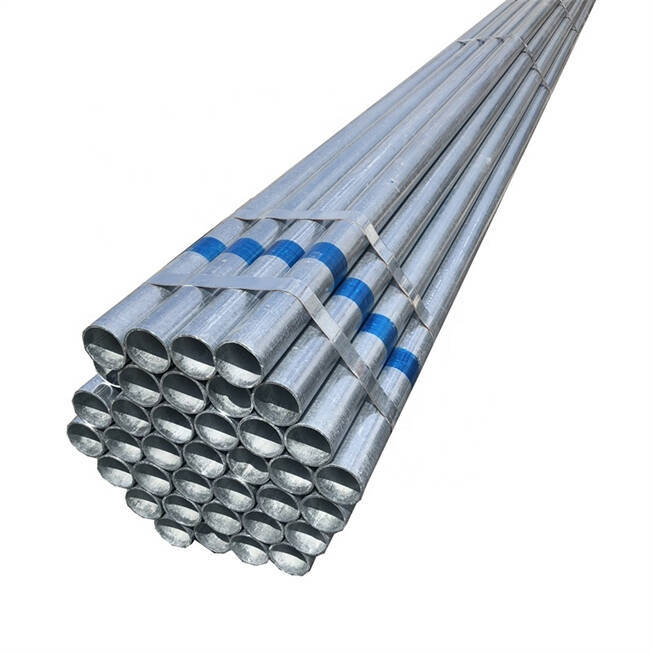
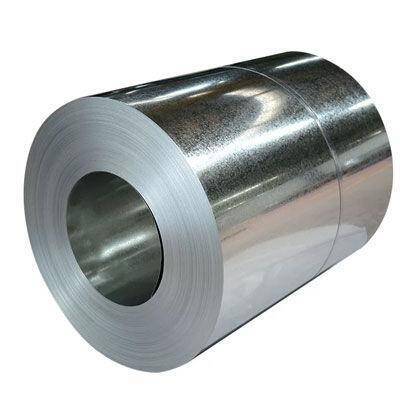
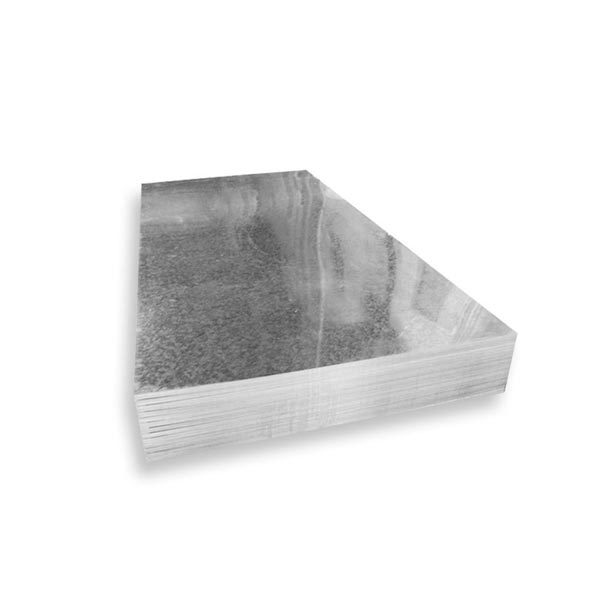
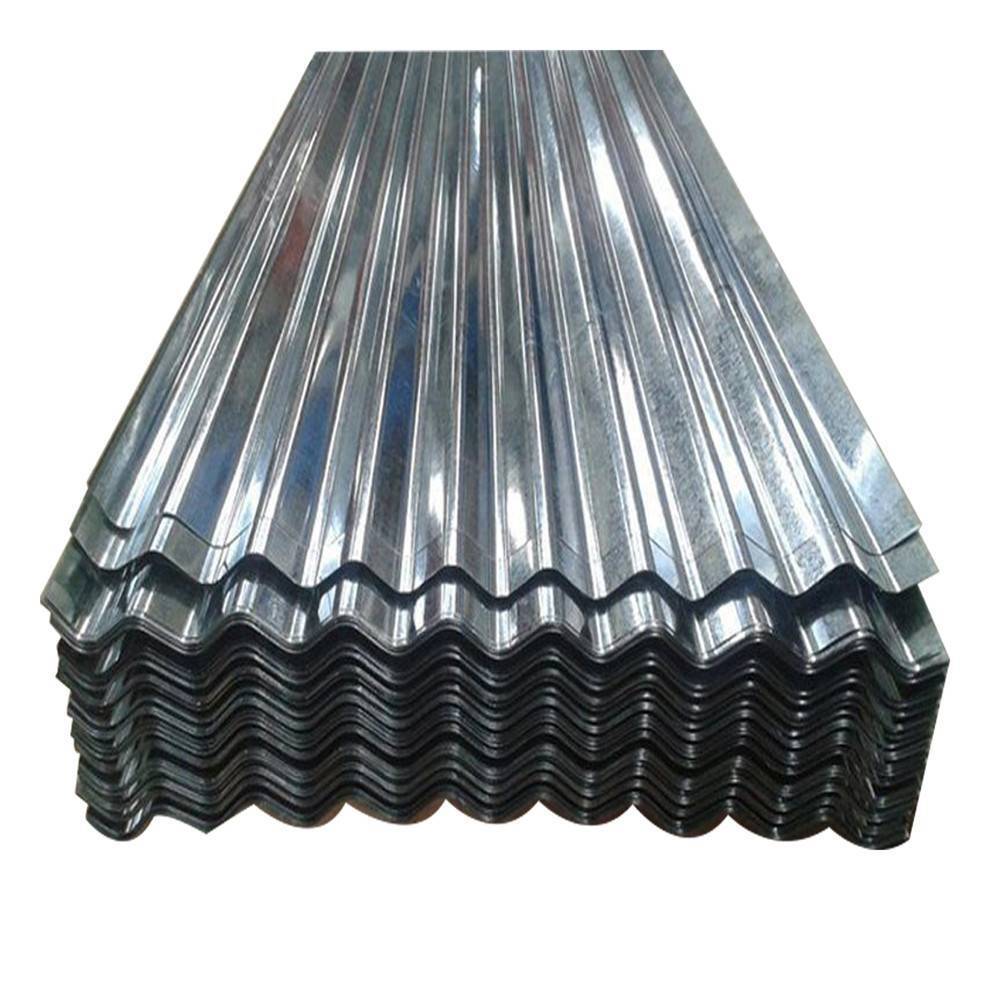
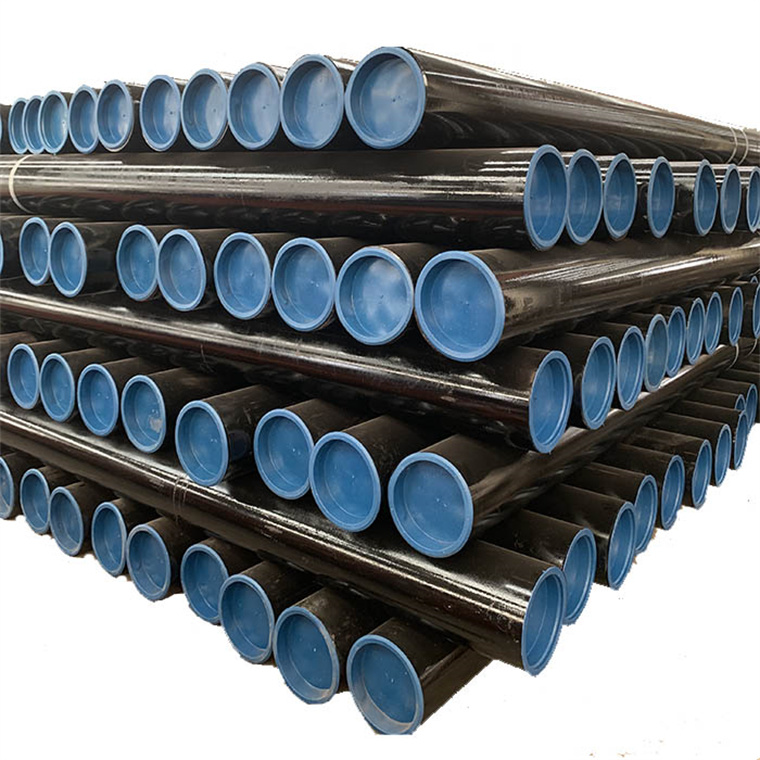
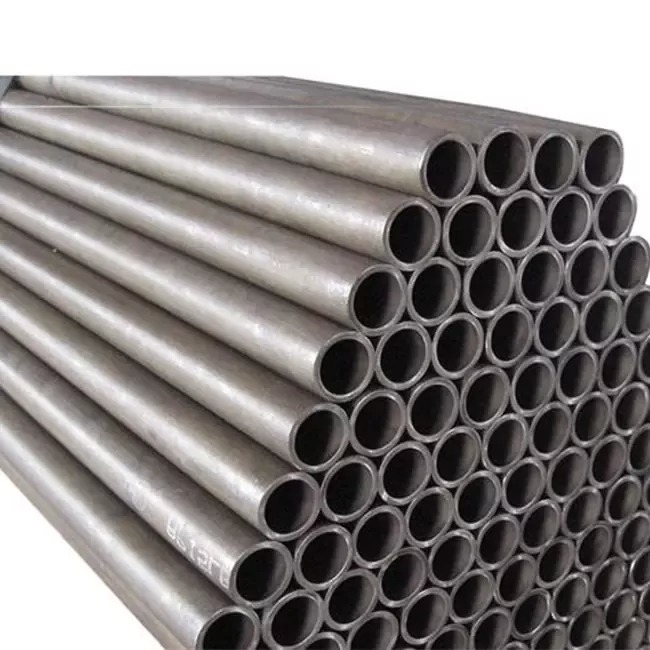
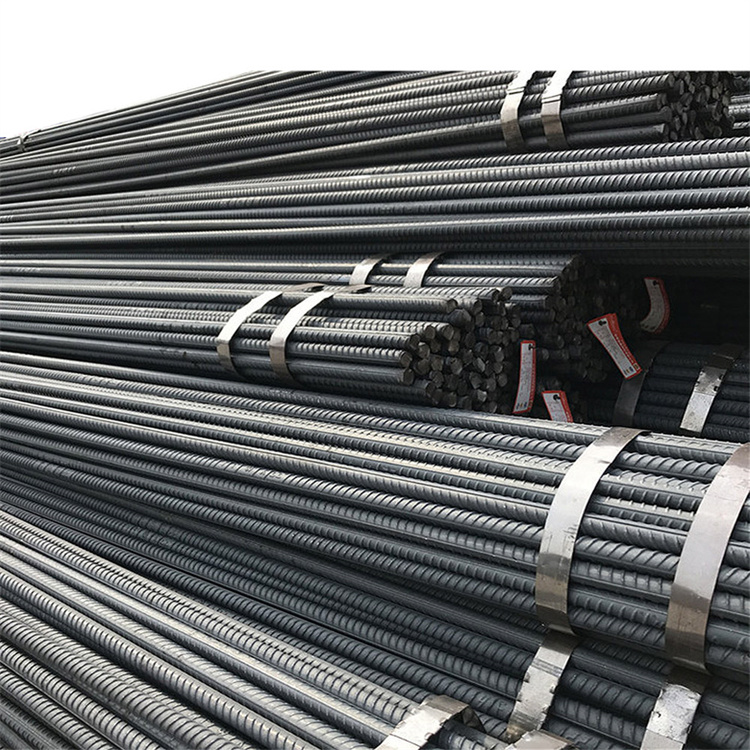
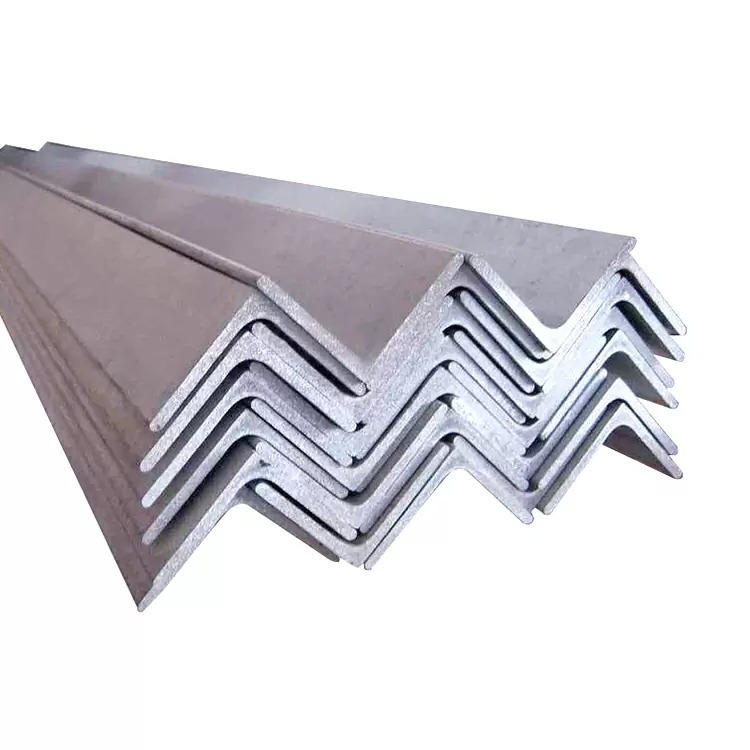
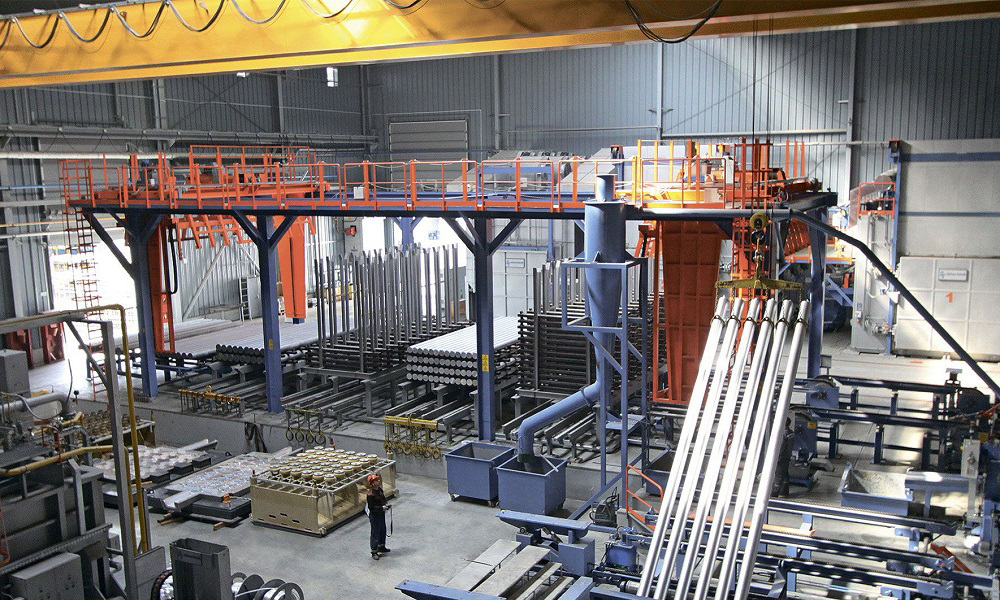
Shandong Wanguo Metal Products Co., LTD was founded in 2011. We are a manufacturer of metal products. Company production: steel pipe, steel coil, steel plate, steel rod. Material: stainless steel, carbon steel, galvanized steel We provide polishing/bending/cutting/secondary machining services. The company always takes customer satisfaction as the service goal and provides integrated services for customers.

MORE
图片名称

Thank you for your message, we will contact you at the first time!

Submit

NEWS CENTER


The method of reducing the porosity of the ssaw steel pipe

07-21


The method of reducing the porosity of the ssaw steel pipe The porosity of the large-diameter ssaw steel pipe not only affects the fineness of the welding seam of the pipeline, causing leakage of the pipeline, but also becomes the induction point of corrosion, which seriously reduces the strength and resistance of the welding seam.The bubbles in the spiral steel pipe mostly occur in the center of the weld bead, the main reason is that the hydrogen is still hidden inside the weld metal in the form of bubbles.At the same time, the moisture, dirt, oxide scale and iron filings in the flux, the welding composition and covering thickness, the surface quality of the steel plate and the treatment of the steel plate side plate, the welding technology and the steel pipe forming technology may induce the generation of pores on the spiral steel pipe. Therefore, in order to eliminate this defect, it is necessary to clean the rust, oil, moisture and moisture of the welding wire and welding seam, and dry the flux to remove the moisture. In addition, it is also effective to increase the current, reduce the welding speed, and slow down the solidification rate of the molten metal. The specific method is as follows: 1. Reduce the secondary magnetic field. In order to reduce the influence of magnetic deflection, the connection position of the welding cable on the workpiece should be kept away from the welding terminal as far as possible to prevent some welding cables from generating secondary magnetic fields on the workpiece. 2. Technical aspects. The welding speed should be appropriately reduced or the current should be increased, so as to reduce the crystallization speed of the metal in the weld pool, so that the gas can escape. At the same time, if the delivery position of the strip is unstable, it should be adjusted in time to avoid frequent fine-tuning of the front axle or the rear axle stays in shape, making it hard for the gas to escape. 3. Flux composition. When welding is rich in appropriate amount of CaF2 and SiO2, it will absorb a large amount of H2, and the generated HF is highly stable and insoluble in liquid metal. This method can prevent the formation of hydrogen holes. 4. The accumulation thickness of the flux is usually 25-45mm. The maximum value of the accumulation thickness of the flux with large particle size and small density, and the minimum value otherwise; the maximum value of the accumulation thickness of high current and low welding speed, and the minimum value otherwise.In summer or when the air humidity is high, the recycled flux should be dried first to prevent the moisture and other impurities in the flux from affecting the welding. 5. Steel plate treatment. In order to prevent sundries such as iron oxide scale falling from uncoiling and leveling from entering the forming process, a cleaning program should be set up. Rust and burr removal equipment should be installed on the edge of the steel plate to reduce the probability of blowholes. The removal equipment is best installed after the edger and disc shear. 6. Weld tracing. The forming coefficient of the weld is too small, the shape of the weld is narrow and deep, the gas and inclusions are not easy to float, and it is easy to form pores and slag inclusions. Usually, the welding seam forming coefficient is controlled at 1.3-1.5, the maximum value for thick-walled welded pipes, and the minimum value for thin-walled pipes.

VIEW ARTICLE

Welding precautions for galvanized pipes

07-21


Welding precautions for galvanized pipes Galvanized steel pipe is widely used in all walks of life. The advantage of using galvanized steel is to protect the internal steel structure with metallic zinc that can form a dense oxide protective layer in the air. In the case of being welded or scratched, due to the existence of Zn-Fe primary battery, the relatively active galvanized part can be used as a sacrificial anode, delaying the corrosion of steel and having good corrosion resistance. However, due to the existence of the galvanized layer, cracks, pores, and slag inclusions are easily generated during welding, and it is difficult to obtain good welding quality. Galvanized steel pipe is generally coated with a layer of zinc on the low carbon steel, and the galvanized layer is generally 20um thick. The melting point of zinc is 419°C and the boiling point is about 908°C. During welding, zinc melts into a liquid that floats on the surface of the weld pool or at the root of the weld. Zinc has a large solid solubility in iron, and the zinc liquid will deeply erode the weld metal along the grain boundary, and the low melting point zinc will form "liquid metal embrittlement".At the same time, zinc and iron can form intermetallic brittle compounds, such as Fe3Zn10, FeZn10 and so on. These brittle phases reduce the plasticity of the weld metal and cause cracks under the action of tensile stress. If the fillet weld is welded, especially the fillet weld of the T-joint is most prone to penetration cracks. When galvanized steel pipe is welded, the zinc layer on the groove surface and the edge will oxidize, melt, evaporate and even volatilize white smoke and steam under the action of arc heat, which can easily cause weld pores.The ZnO formed by oxidation has a high melting point, about 1800° or more. If the parameters are too small during the welding process, it will cause ZnO slag inclusion.At the same time, FeO-MnO or FeO-MnO-SiO2 low melting point oxide slag inclusions are produced because Zn becomes a deoxidizer. If the selection of welding specification is not appropriate and the operation method is improper, it is easy to melt the galvanized layer at the green edge of the weld and expand the melting area, which may damage the galvanized layer.Especially in the case of elongated arc and large swing operation, the melting area is widened, and the damage to the galvanized layer is more serious.At the same time, due to the evaporation of zinc, a large amount of white smoke and dust is volatilized, which has stimulating and harmful effects on the human body. Therefore, the selection of welding methods and materials that generate a lower amount of smoke and dust is also a factor that must be considered. Welding Quality Assurance Measures Control from five aspects: people, materials, machines, methods, and environment. 1 The human factor is the control focus of welding. Therefore, before welding, a skilled welder with a welder certificate should be selected to carry out necessary technical training and disclosure. It should not be replaced at will, to ensure that the welding personnel of the pipeline are relatively stable. 2 Welding consumables control: ensure that the purchased welding consumables are from regular channels, have quality assurance certificates and certificates of conformity, and meet the process requirements;Strictly control the recycling of fire sticks to ensure the flow direction and dosage;Welding consumables should be baked strictly according to the process, and the dosage should not exceed half a day at a time. 3 Welding machine: The welding machine must ensure reliable performance and meet the needs of the process; the welding machine must have a qualified current and voltmeter to ensure the correct implementation of the welding process. The welding cable should not be too long, and the welding parameters should be adjusted when it is longer. 4. Welding process method: ensure the strict implementation of the special operation method of galvanized pipe, check the welding process parameters before welding, control the operation method, check the appearance quality after welding, and increase the post-weld non-destructive testing if necessary. Control the welding level and the amount of welding consumables per pass. 5 Welding environment control: ensure that the temperature, humidity and wind speed during welding meet the process requirements.

VIEW ARTICLE

Normalizing of seamless pipes

07-21


Normalizing of seamless pipes Normalizing of cs seamless pipes is to heat the workpiece to Ac3 (Ac refers to the final temperature at which all free ferrite is transformed into austenite during heating.Generally from 727℃ to 912℃) or Acm (Acm is the critical temperature line for complete austenitization of hypereutectoid steel in actual heating) 30~50℃.After holding for a period of time, the metal heat treatment process cooled in air or by water, spray or blowing is removed from the furnace. The purpose is to refine the grains and to homogenize the carbide distribution. The difference between normalizing and annealing is that the cooling rate of normalizing is slightly faster than that of annealing, so the normalizing structure is finer than the annealing structure, and its mechanical properties are also improved. In addition, the external cooling of the normalizing furnace does not occupy equipment, and the productivity is high. Therefore, normalizing is used as much as possible to replace annealing in production. For important forgings with complex shapes, high temperature tempering (550-650°C) is required after normalizing to eliminate the stress generated during normalizing cooling and improve toughness and plasticity. ① For hypoeutectoid steel, normalizing is used to eliminate overheated coarse-grained structure and Widmanners structure of cast, forged and welded parts, and banded structure in rolled material; to refine grains; it can also be used as a pre-heat treatment before quenching. ② For hypereutectoid steel, normalizing can eliminate the reticulated secondary cementite and refine the pearlite, which not only improves the mechanical properties, but also facilitates the subsequent spheroidizing annealing. ③ For low-carbon deep-drawing thin steel sheets, normalizing can eliminate free cementite at grain boundaries to improve its deep-drawing properties. ④ For low-carbon steel and low-carbon low-alloy steel, normalizing can be used to obtain more fine flake pearlite structure, increase the hardness to HB140-190, avoid the phenomenon of "sticking to the knife" during cutting, and improve machinability . For medium carbon steel, normalizing is more economical and convenient when both normalizing and annealing are available. ⑤ For ordinary medium carbon structural steel, when the mechanical properties are not high, normalizing can be used instead of quenching and high temperature tempering, which is not only easy to operate, but also makes the structure and size of the steel stable. ⑥ High temperature normalizing (150~200℃ above Ac3) can reduce the composition segregation of castings and forgings due to the high diffusion rate at high temperature. The coarse grains after high temperature normalizing can be refined by the second normalizing at lower temperature. ⑦ For some low and medium carbon alloy steels used in steam turbines and boilers, normalizing is often used to obtain bainite structure, and then tempered at high temperature, it has good creep resistance when used at 400-550 °C. ⑧ In addition to steel and steel, normalizing is also widely used in heat treatment of ductile iron to obtain pearlite matrix and improve the strength of ductile iron. Since normalizing is characterized by air cooling, ambient temperature, stacking method, airflow and workpiece size all affect the organization and performance after normalizing. The normalized structure can also be used as a classification method for alloy steel. Generally, alloy steels are divided into pearlitic steel, bainitic steel, martensitic steel and austenitic steel according to the microstructure obtained by air cooling after heating a sample with a diameter of 25 mm to 900 °C. The difference between normalizing and annealing (1) The normalizing temperature is higher, and the annealing temperature is lower. (2) The cooling rate of normalizing is faster than that of annealing. (3) The effect of use is different. After carburizing treatment, normalizing can eliminate reticulated cementite, but annealing cannot. For carbon content below 0.25X, normalizing can increase hardness and improve machinability, but annealing cannot. (4) The normalizing cycle is short and the operation is convenient; the annealing cycle is long and the operation is more troublesome (referring to the need to control a certain cooling rate).

VIEW ARTICLE

ASTM A500 square tube

05-16


ASTM A500 square tube ASTM A500 square tube is a cold worked seamless and welded special section carbon structural steel pipe. Dimensional tolerance for ASTM A500 square tube: 1. External Dimensions: External dimensions shall be measured at least 2 inches (5 cm) from the pipe end and shall not differ from the required external dimensions by the appropriate values given in Table 3, including tolerances for concave and convex. 2. Wall Thickness: The minimum wall thickness measured at any point on the pipe cannot be less than 10% of the required wall thickness. The maximum wall thickness including the welds of the pipe shall not exceed 10% of the required wall thickness. ASTM A500 square tube wall thickness applies only to the center location. 3. Length: Structural pipes are usually produced in indefinite lengths of 5 feet (1.5 meters), multiple lengths and specified lengths. Refer to the table below Below 22 feet Above 22 feet above below above below Length tolerance 1/2(12.7mm) 1/4(6.4mm) 3/4(19.0mm) 1/4(6.4mm) 4. Straightness: Structural pipe flatness tolerance is 1/8 inch times total length divided by 5 feet (10 mm times meters). 5. Square surface: ASTM A500 square tube has each adjacent side at 90°, with a maximum allowable deviation of +2%. 6. Corner radius: The outer corner of each interface of the ASTM A500 square tube cannot exceed 3 times the required wall thickness. 7. Bending: The allowable tolerance of bending of ASTM A500 square tube is shown in the table below. The degree of curvature is determined by fixing one end of the tube on the flat plate and measuring the height of each corner of the bottom from the opposite end of the tube, and calculating the degree of curvature (the different heights of these corners), except that the degree of curvature can be determined by using some suitable measuring tools. . Bend testing cannot be done 2 inches (5 cm) from the pipe end. Specified outside large flat dimension,in.(mm) Maximum permissible variations in twist per 3 ft of length (twist per metre of length) In. (mm) 11/2(40)and under 0.050 (1.3) Over 11/2 to 21/2(40 to 65),incl 0.062 (1.6) Over 21/2 to 4(60 to 100),incl 0.075 (1.9) Over 4 to 6(100 to 150),incl 0.087 (2.2) Over 6 to 8(150 to 200),incl 0.100 (2.5) Over 8 (200) 0.112 (2.8)

VIEW ARTICLE